i got this stereo when i was living at a different place so i had a feel for its post break-in sound. last august we bought a house finally, and the basement minus a guest room and storage was mine make my man cave. it was already finished and painted in yellow which i didnt like in the beginning but has grown on my allot, mostly because it brightens the place up nicely given its subterranean lack of light...and it gives that feel of Steelers colors which are ingrained in my soul, but i digress. But unfortunately as soon as i turned the stereo on in the new room i was disappointed. first off the room is considerably larger, its 12'8"W X 25'L X 7'4"H while the original room i got to know the system in was 12'x12' but had a drop ceiling and some favorable qualities for a small room, plus my listening seat was in the perfect place. the new room has 2 walls that are painted concrete(foundation) with the rest finished sheet rock. the echo was ridiculous while the bass was boomy and muddy as hell, i had the dreaded one note bass effect. it was almost an unusable room it sounded so bad, the highs caused listener fatigue so dramatic my listening was cut way back.... i was not a happy boy. it was like i took a step backwards sonically and i had no choice but to take action, so i did.
it has been quite the project, much bigger and more work than i originally expected. It has been 100% DIY and low budget enough that i thought i would share with others in case anyone else is interested in doing this for themselves. all told i guess ill have about $400 in the whole thing....minus buying a house that i can do this too. it could have been done cheaper but i made the mistake of buying my first batch of panels online and paid way to much. i found a local supplier for everything after that which saved me a ton of $$, plus i rocked the jo-anne fabric sales catalog and never got less than 40% off all my fabric. to buy all the bass traps and HF traps as finished products from a vendor to do all i have done would cost a fortune. Long live DIY!
after a ton of research i decided used a combination of theOwens Corning 703 (3lb p/sq' fiberglass for mid-bass absorption) and the 705 (6lb p/sq' fiberglass for deeper bass absorption) in both reflective and absorbent facing, making a variety of low FQ bass traps and absorbent broadband traps. my goal was to attempt to get as close to 100% corner coverage as possible. (Low FQ and undesirable sound in general live in the corners, that is why band shells and good theaters have rounded corners everywhere with a giant sloping front wall) all the traps were also made in a variety of 2" and 4" thicknesses in both density panels to get a better over all frequency control from 35-500mhz. everything over 500mhz is then handled by the high FQ absorbers at the first reflection points plus the evenly placed unfaced traps through out the room too. my goal unlike high school is flat.

here are some pics from the start of the project:
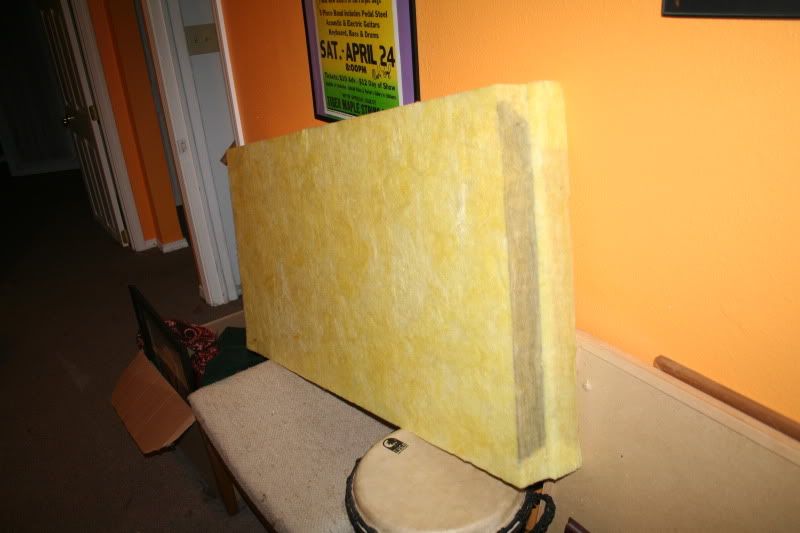
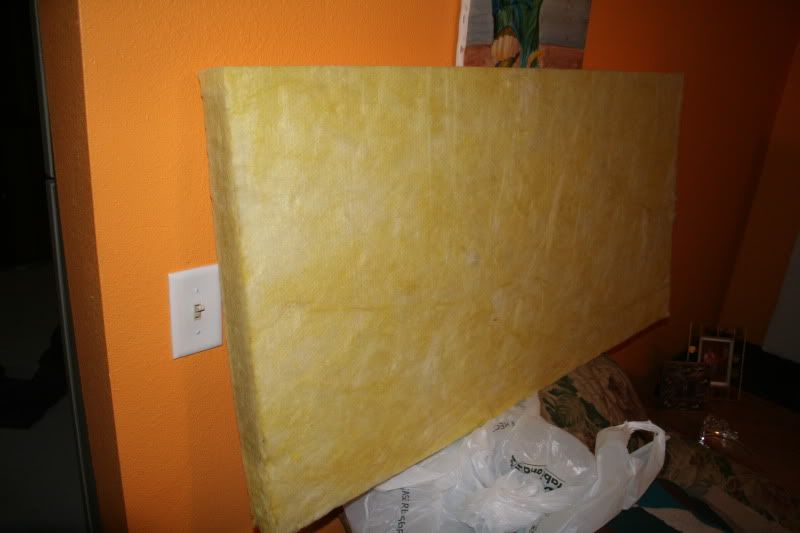
2 OC 703 panels 2' x 4' 2" thick

the corner of the 2 concrete painted walls

first reflection point on left

first panel i finished
[img]
http://i30.photobucket.com/albums/c326/westfaliamama/IMG_2665.jpg?t=1253948698[/img]


